In this short blog I will summarize the experience and results form my experiements with photo emulsioin on canvas and cotton rag paper. Basically it is nothing new to apply photo emulsion on any kind of paper or subjects, even on walls. Anyhow, for me it is the uniqueness and endless possibilities of the prints and the magic of photo emulsion what makes me trying it out for myself.
Acryl on Canvas
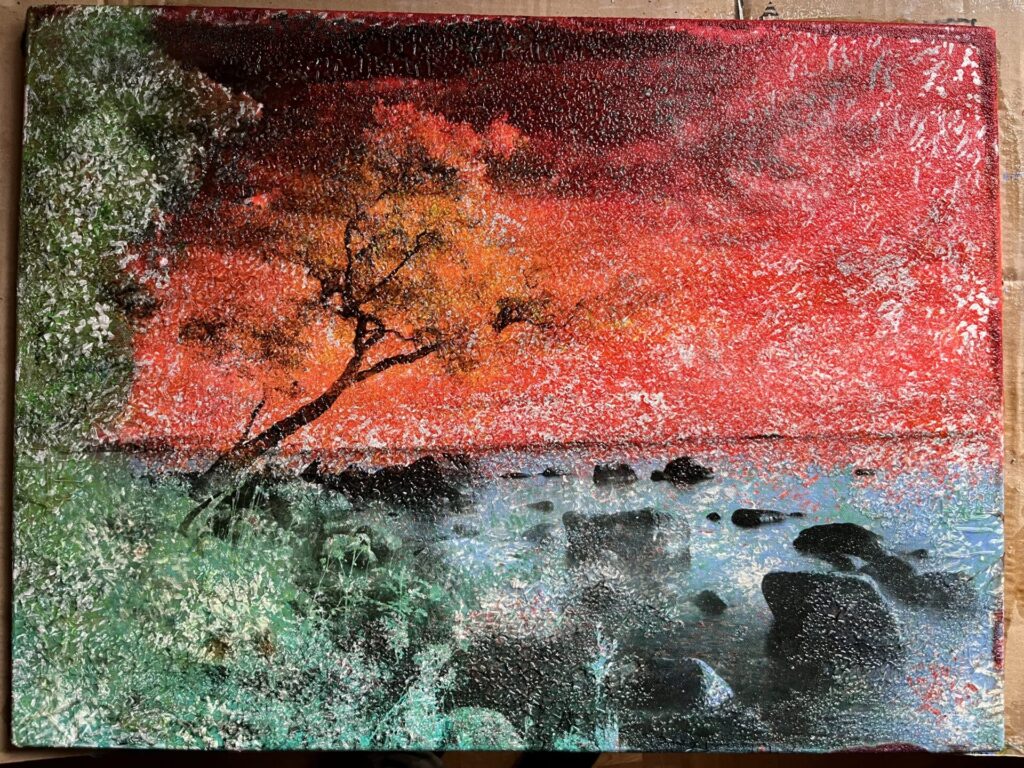
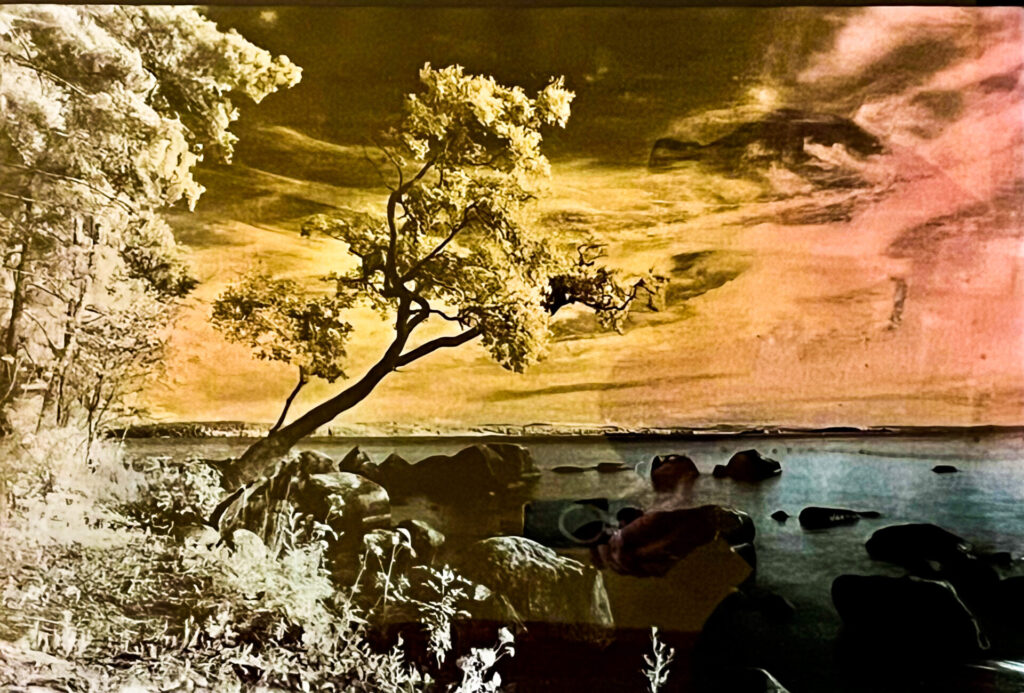
I managed to take a nice landscape photograpf this summer with my Mamiya 645. The film I use is an old Konica Infrared Film. The negative came out just fine for enlargement. I planned to use this landscape onto a background in arcylic color with a canvas in size 60 x 45 cm. My wife is an artist so it seemed to be just right as we had all kind of acryl paint at home.
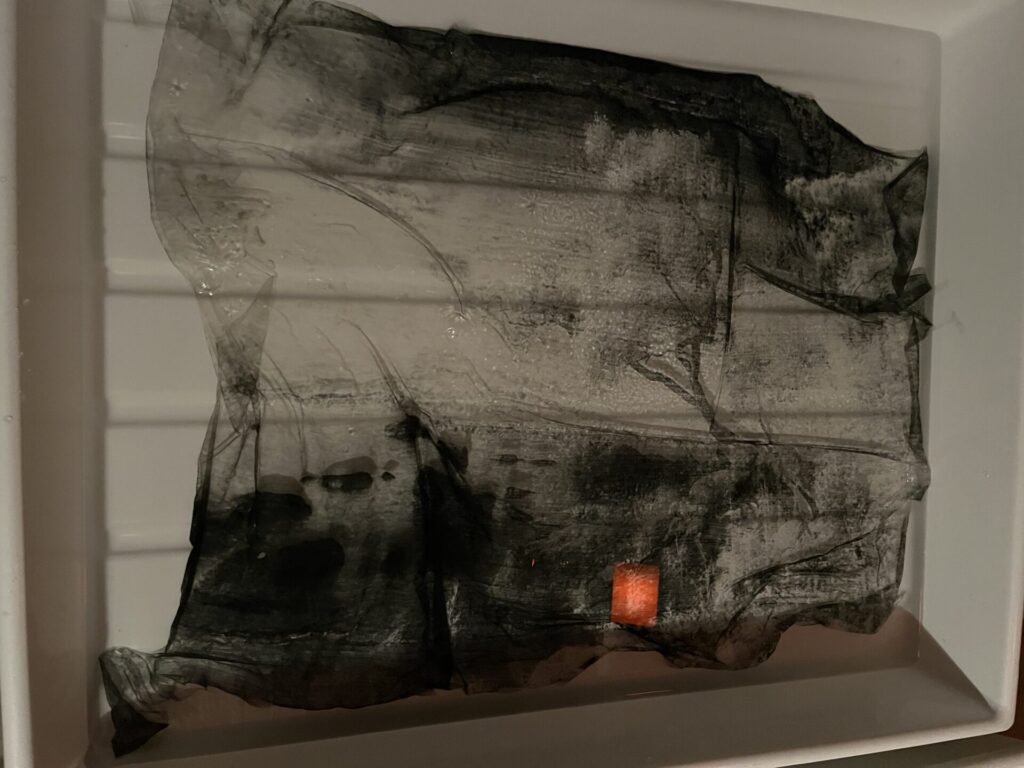
At room temperature the photo emulsion is of consitency like gummi. So I have to cut it out the container in the darkromm with a spoon. Warm it up to 40+ degree to make i fluent. In my first attempt I applied the photoemulsion directly onto the acrylic color and let it dry for some hours. I made some test prints on white canvas to find approximate exposure time. Resulting in 80 s. So I exposed and … well… already in the developer after 60 seconds the emulsion fall off the acrylic paint. All 4 liters of fresh developer is contaminated with small pieces of emulsion. I just could throw everything away, a little dissapointment.
I had several attempts to improve the adhesion. Longer drying time, prepare with clear vanish, degrease with acetone. Always the emulsion just fall off in the developer or the fixing bath. What in the end worked is to apply photogelantine and then the emulsion togheter with at least 24 hours drying time. But even then the emulsion was very sensitive after the treatment in developer, stopp bath, fixing and washing.
Another big challange was the exposure time. As I used quite strong colors, the reflection of light in the colored areas is different and this has a huge effect on the outcome of the print. I found that I have to over expose the canvas by 1 – 2 steps compared to white canvas in order to get acceptable results. So strong color background make it very difficult. However, in the end I am satified with the outcome and the learnings.


Airbrush on Cotton Rag Aquarell Paper
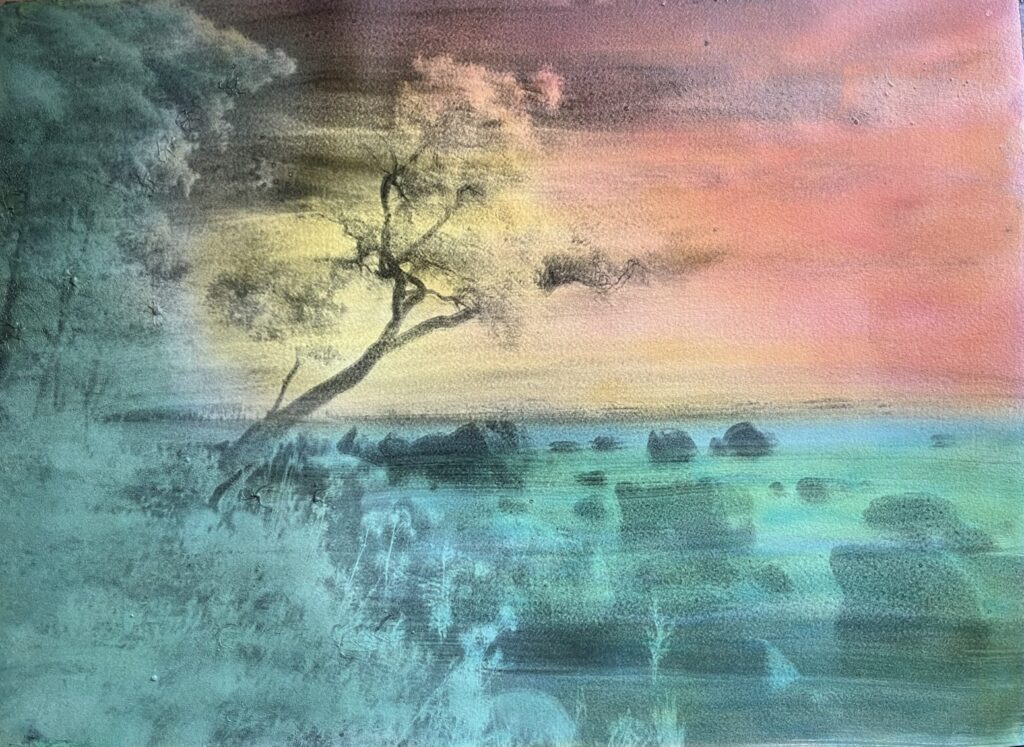
The adhesion problem on acryl paint pushed me in the direction to test cotton aquarell paper 300 g/m2. I just thought the emulsion will be soaked in a bit into the paper. I applied the background with aquarell paint and an airbrush. In my first attempt I used strong colors as I just like the impression of it. This worked not so well, again correct exposure is quite difficult, and the photo nearly dissapeard in the colors. In my second attempt I made the colors softer and then the photo came out much better. Adhesion is not that much of a problem in combination with the cotton rag paper. I directly applied the photo emulsion onto it. Also the paper is much esier handable in trays than the canvas.
With this material combination I am quite happy and will do more of these unique prints in future. A further idea to use stronger background colors is to make contract prints with the goal to just bring black onto the picture. In this way the exposure time does not play a roll anymore. Thanks for reading.

